 Process: Background
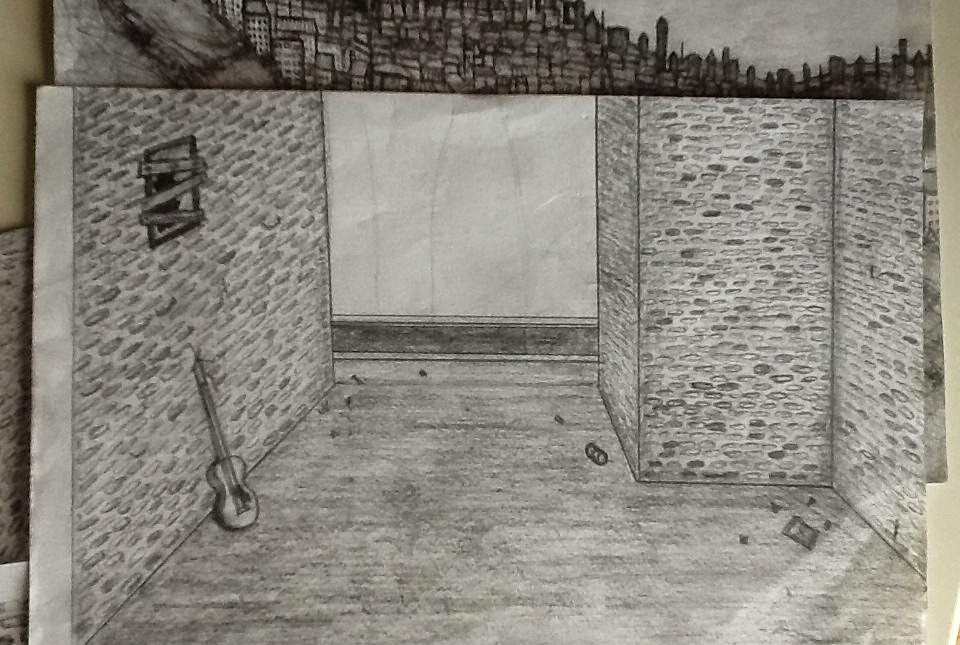
Firstly for each shot, I started with the background. I sketched on A4 paper the background and any objects that didn't need to move. (In this case the guitar and rubbish).
 -The reason I have left the background blank, is because I've drawn the town separately, that way I only need to draw it once and can use it in other shots.
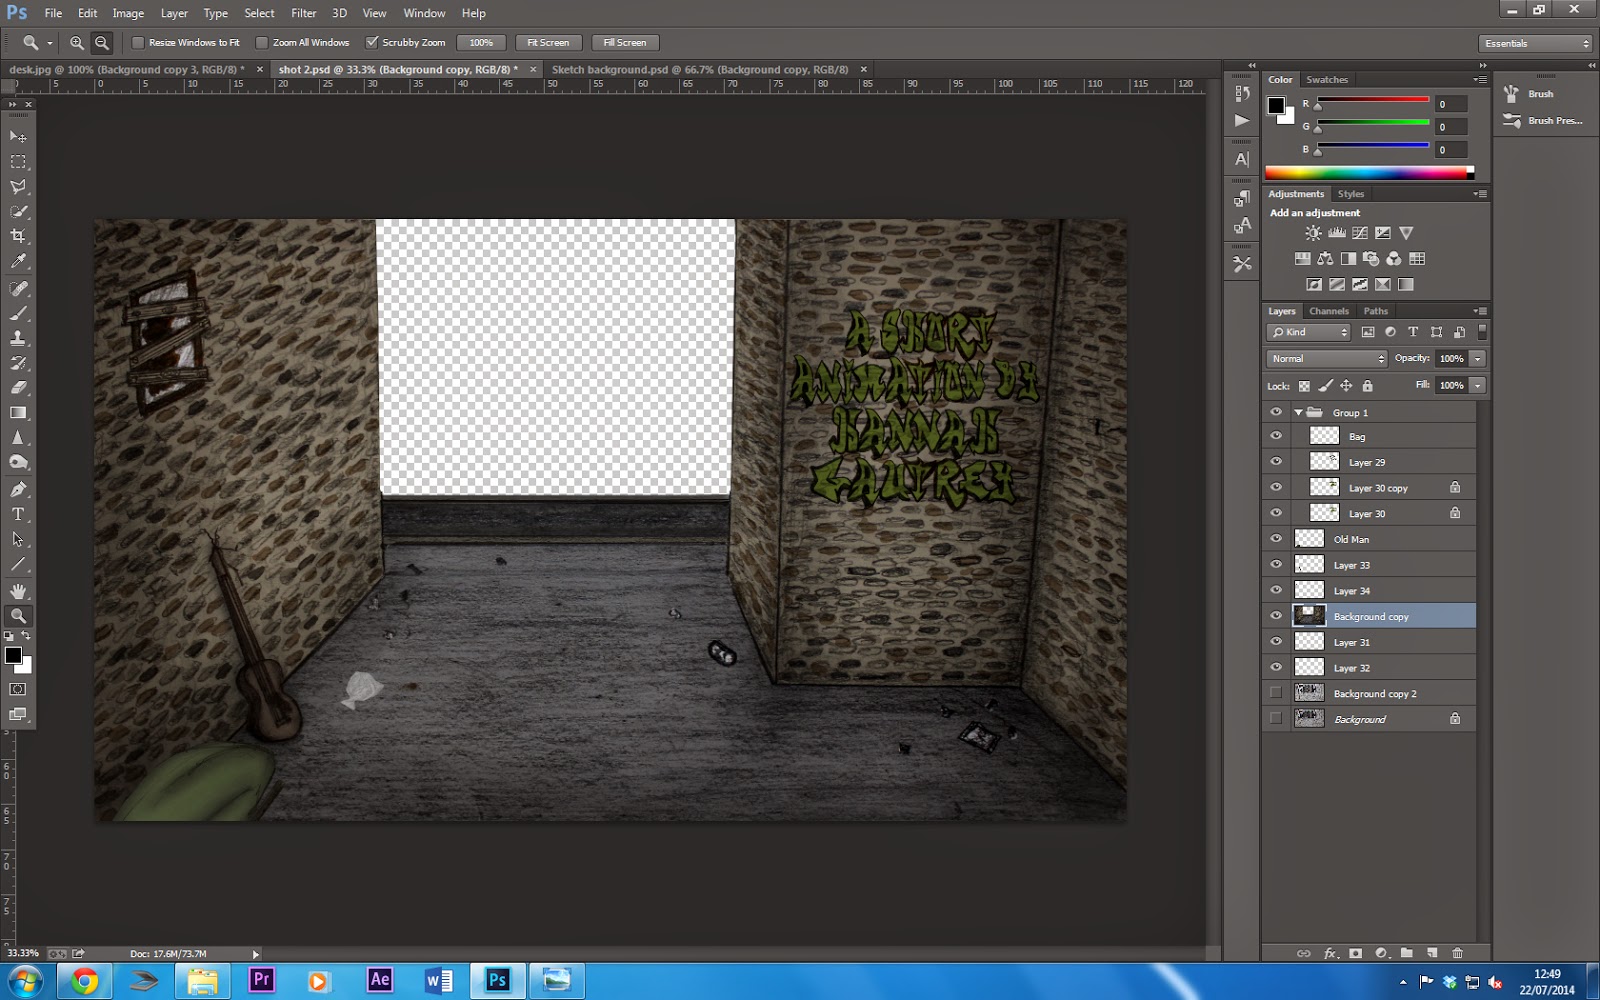
Then, I scanned the sketch in, and coloured it on Adobe Photoshop. Once this was done, I went round the objects shading them to add more depth, and did the same with the background, to add shadow.
Once I'd finished the background, I saved it as a PDF, as if it's saved as a JPG for example, I will be able to bring it into After Effects, but won't be able to move or adjust the layers.

Then, I sketched the characters or objects that I wanted to move.
When making the characters or objects move, I experimented a little, and used a variety of techniques and processes for each shot.
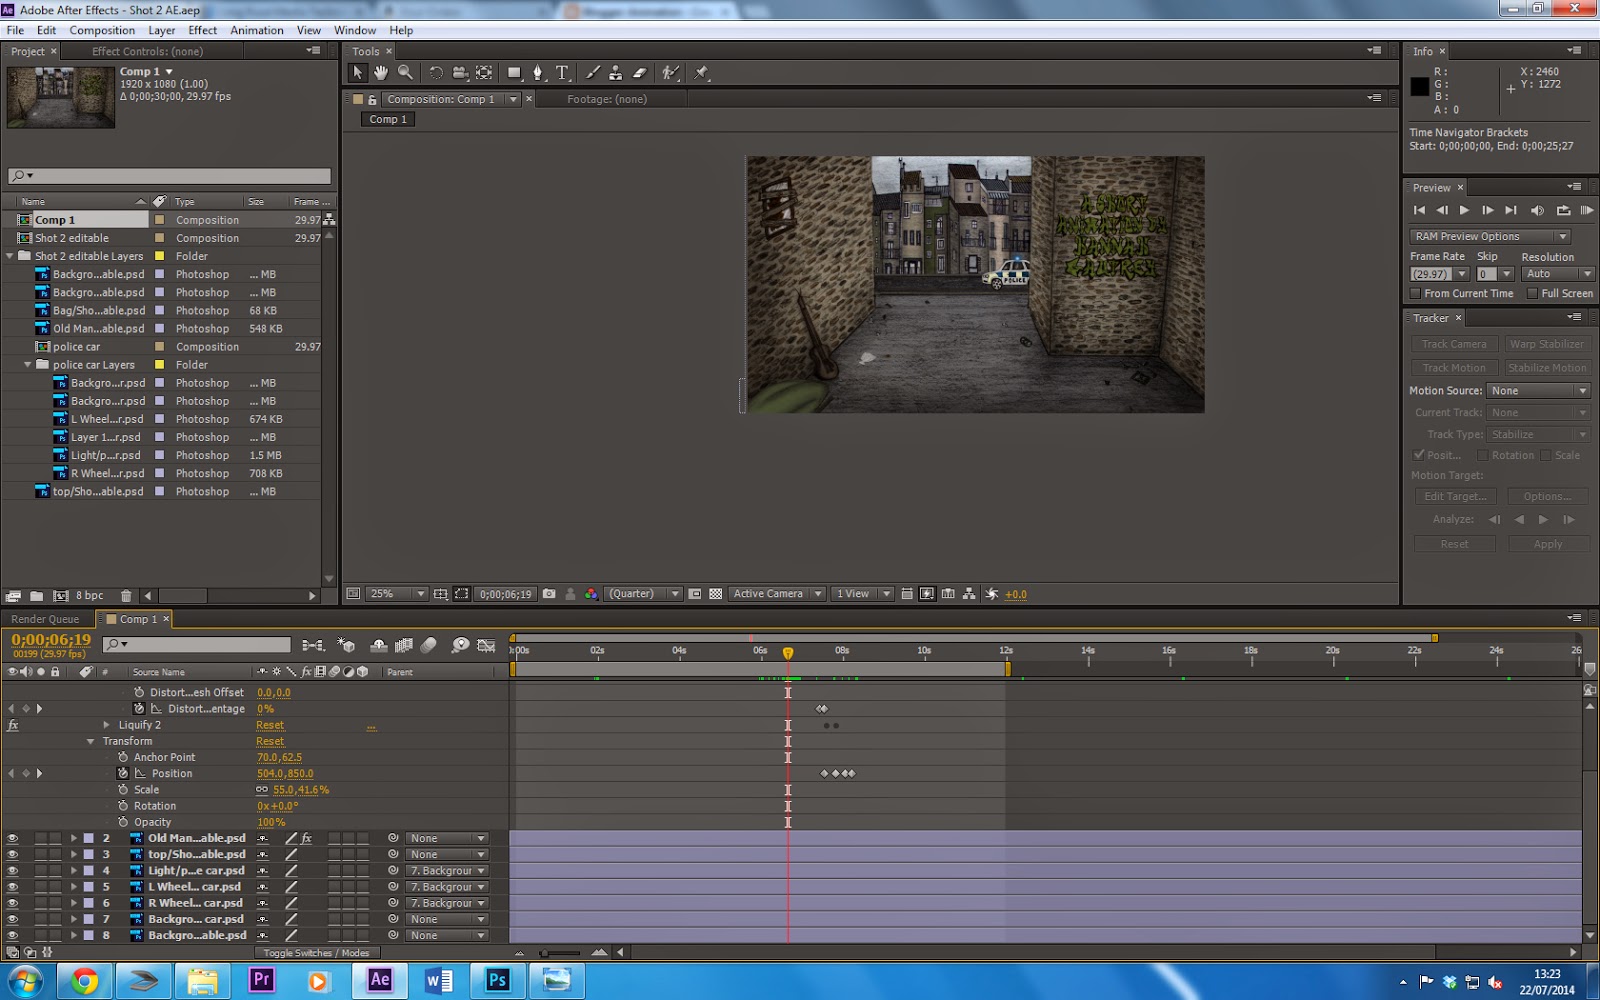 In this particular shot, the only things I wanted moving were the plastic bag, and the police car.
This consisted of rotating, re-positioning, and warping the plastic bag, and for the police car, repositioning the car, making the wheels rotate and making the light flash on and off. All of these things could be easily done on Adobe After Effects, so for this shot, I took that route.
I drew the objects in a separate Photoshop document, and then brought them into the background document once they were complete, keeping them on a separate layer, so they can be adjusted in After Effects.

 Another way I made the characters move, was via Photoshop. For this shot, I wanted the character Owen, to walk towards the brief case with his walking stick. This meant I couldn't just draw the character as a whole, but needed to draw some body parts separately. Once I had coloured Owen on Photoshop, I had two options, move him into After Effects, or take the longer route of Photoshop. I attempted After Effects to save time, but found that I couldn't move his legs, (as although they were detached from one another, one of the legs was connected to his stomach, which would have been extremely tricky to get round on AE.)
So what I did on Photoshop, was rotate the legs and arms ever so slightly in each frame (and for the leg attached to his stomach, used liquify), and saved each movement as a JPEG frame, piecing the frames together on Premiere Pro.
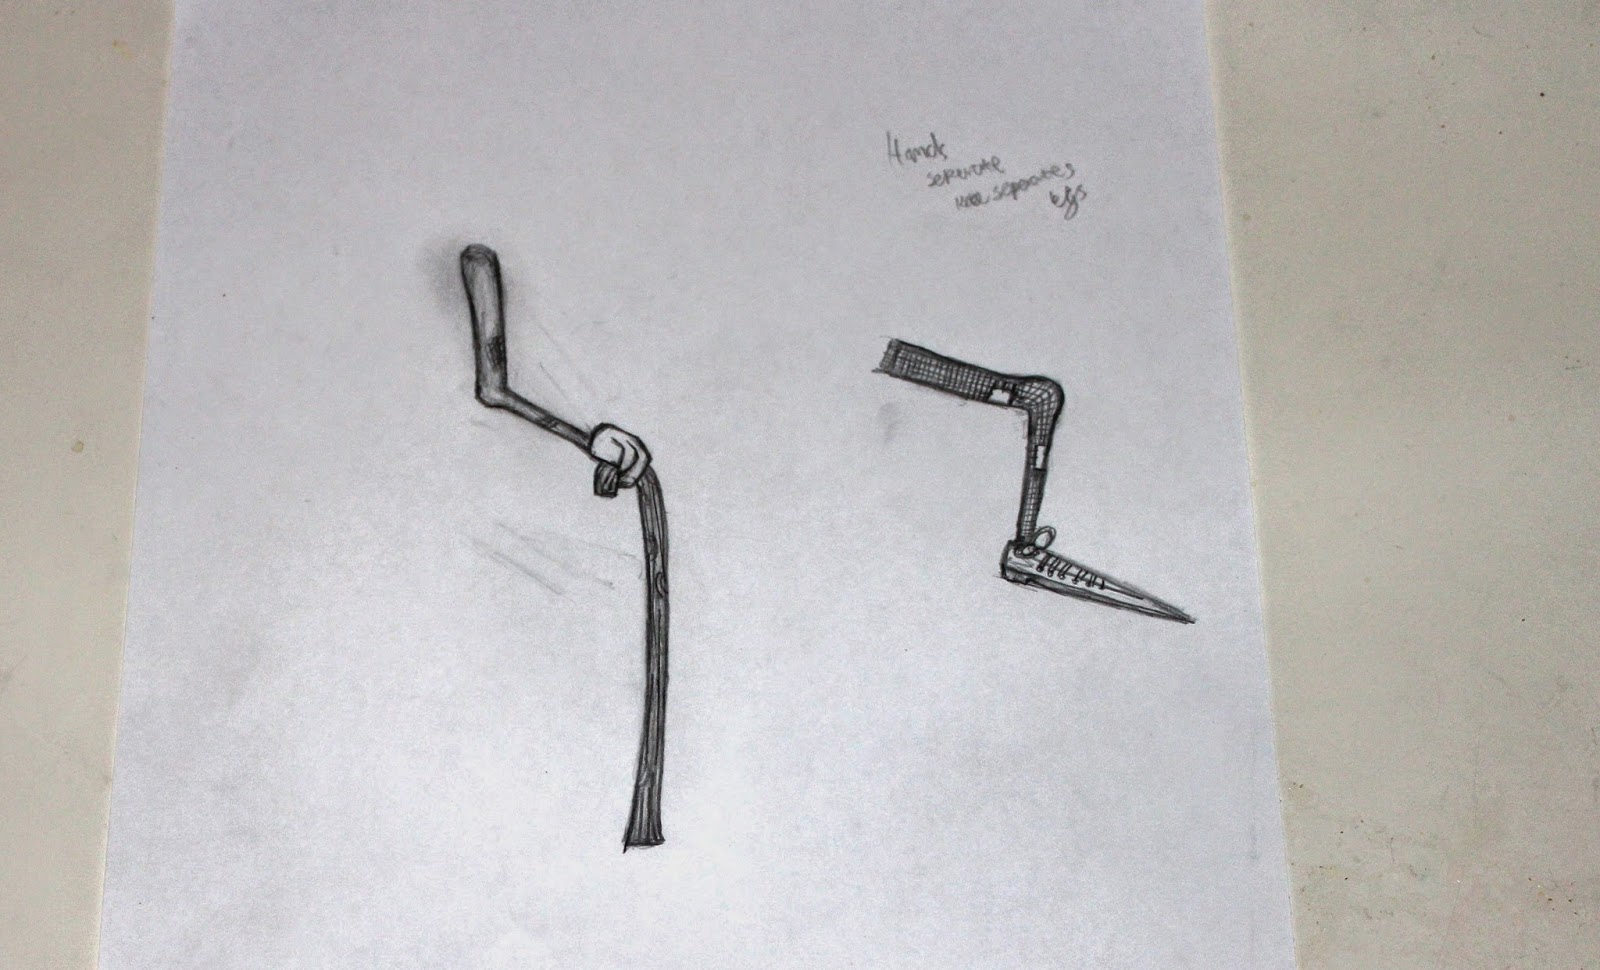
After making Owen move on Photoshop, I decided not to use that process again, and made Ratty's run cycle partly frame by frame. What I did, was draw his head and body once, as they only required a little bit of movement. I then drew his arms once, as all they needed to do was rotate, (but these were drawn separately). Lastly it was the legs that I made via hand-drawn cell animation, as each position was different.
(This was done on Photoshop)
The reason this process was my favourite, is because it was the most challenging, and looks the nicest. By doing hand-drawn cell animation, you can add more movement and exaggeration to the shot - although its not as smooth as CG.
Equipment set up

The software I use, is Adobe Photoshop, Adobe After Effects, and Adobe Premiere Pro. Although I do the animation on Photoshop and After Effects, I bring each finished shot into Premiere Pro, and edit the shots into a film.
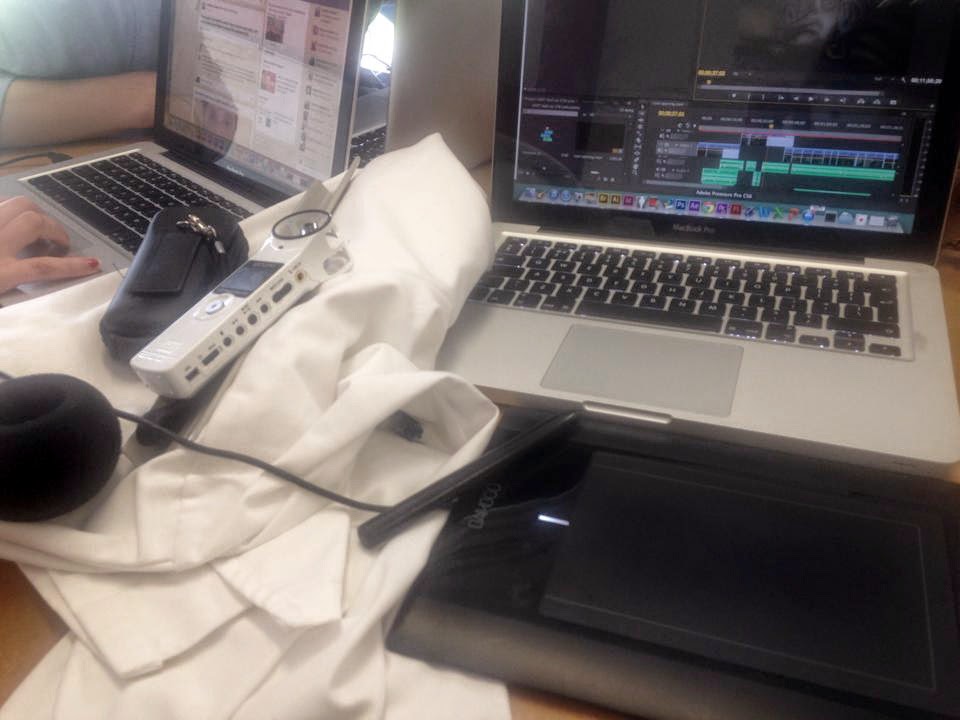 My desk usually consists of an Apple laptop, a Wacom graphics tablet, and my Red progress book. On some occasions, it will also consist of a recording microphone, wind protector, equipment for foley sound, and paper and penicls for drawing.
No comments:
Post a Comment