 In this lesson we learnt how to animate using Adobe Photoshop Elements. Firstly to get your images into Photoshop, you can either import them, paste them, or draw them on the program. For this test, we opened up a PSD file which already had the images and layers we needed.
Once the images we needed were in Photoshop, we firstly went to:
Window - Timeline
which brought up a timeline at the bottom of the screen. We then selected:
Create Frame Animation
which atomically placed all of the layers you have in the timeline. For this image, I knew we needed 7 frames, so clicked on the:
Duplicates selected frames
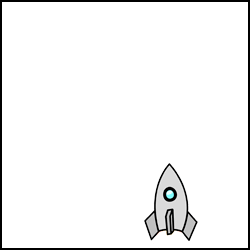
icon 7 times, which meant I now had 7 frames in my timeline. For my first frame, I turned all my layers visibility off so nothing but the white background was visible. Then I selected the second frame, and turned the layer with the 1's visibility on. Then for layer 3 made the 2 visible, and so on...
When it got to the rocket, I firstly made the body itself visible, and then on the next frame added in the fire. For the last frame, I literately dragged the rocket and flame out of the layer (moving it vertically but not horizontally), and then (between the 6th amd 7th frame) selected:
Tweens animation frames
Which added frames in between the two, making the animation smoother.
Lastly, we learnt how to export the animation and save it as a GIF. We firstly went to:
File - Save for Web
and tweaked the settings a little by decreasing the image size, colours and output setting (GIF) if needed.
No comments:
Post a Comment